
![]()

|
|
Step 9 - Headstock
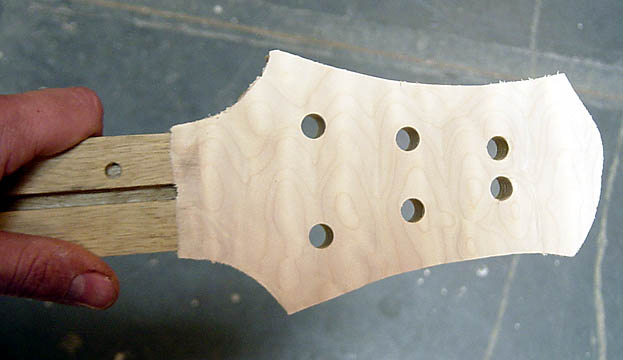 |
The overlay is rough bandsawn oversized and the tuner holes are transfer drilled through. |
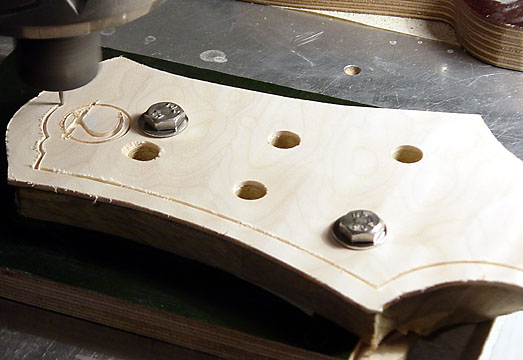 |
The headstock is fixtured on two pins locating on the 'D' and high 'E' tuner holes. Two hold down bolts merely keep it flat again the jig. The headstock purfling is routed first, followed by the "T" logo. |
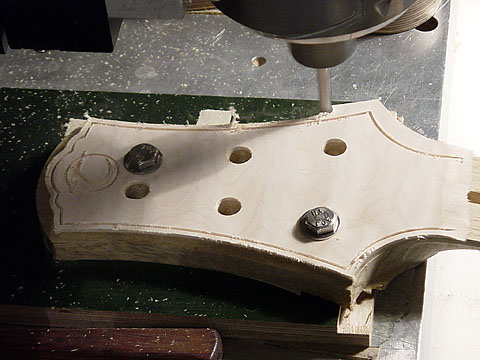 |
First pass perimetering the headstock. I take 3 passes around the headstock .020" oversized, getting deeper each pass. A single final pass at full depth cleans it up to actual spec. This method eliminates tooling marks around the perimeter and reduces chances of blowout. |
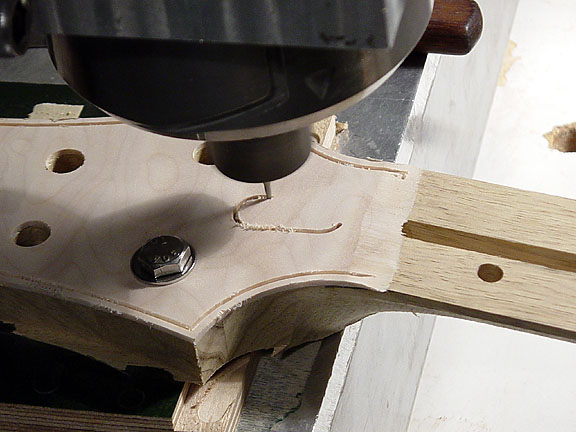 |
Cutting through the overlay to access the truss rod nut cavity. |
 |
Ready for inlay. The headstock routing is finished and awaiting the inlay. The pearl 'T' logo was shown being cut out on a previous thread. The headstock purfling is cut out the same way. One piece goes aroung the headstock end and two piece join the tips of the ears to the nut. Straight strips are slightly bent to fit the cavity on each side. |
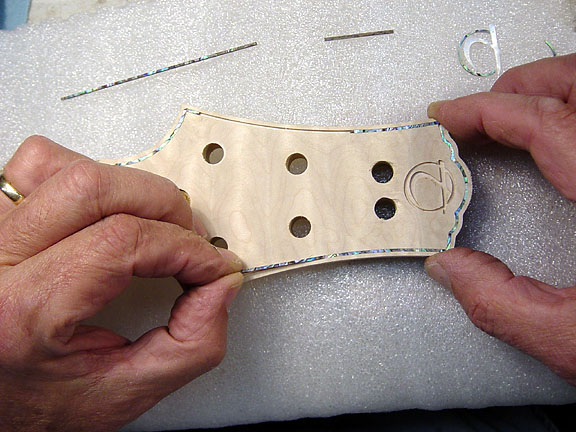 |
My dad starts off glueing the end piece and the ear pieces. The connecting strips follow. A thin bead of thick Cyanoacrylate Adhevise (Super Glue) is squeezed into each channel, then the pieces are pressed into place. |
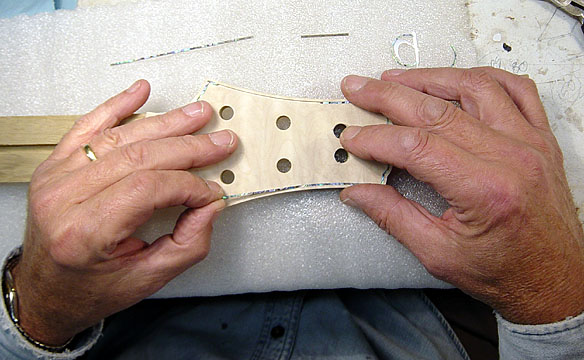 |
Continuing the same operation as above but a great shot showing the massive monkey paws my dad calls hands. At 6'-6", that headstock looks like a toy in comparison. |
| Go to Step 8 page | Thorn #030 Completed | Go to Step 10 page |