
![]()

|
|
Step 8 - Neck
 |
We left off a
couple weeks ago after I ran #030's fingerboard on the new Haas CNC machine. Since then, I
have been working on fixtures, jigs, and programming for necks and bodies. The following
is a quick look at neck making with the CNC. A few steps have been left out since I was in
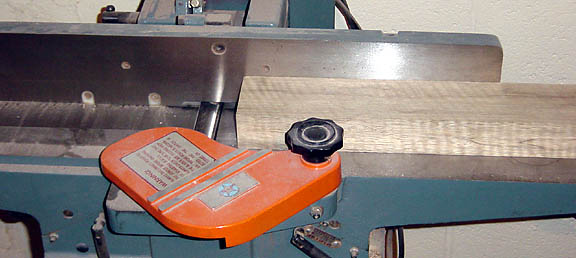
mid stream of converting from the old way to the new way. Also, there are numerous methods to building a neck. Everyone has their own techniques and order of operation. There isn't any "best" way to build one that I know of, so I'll break down MY order of operation. Step 1: Square up neck blank and mill to approximate size. Step 2: Surface fingerboard side then add truss rod channel and fingerboard locating holes. Step 3: Surface headstock face to 10 deg. and glue on ears if needed. Step 4: Flip neck blank over and machine perimeter and back carve including the heel. Step 5: Tilt neck onto headstock face and machine back of headstock and drill for tuners. Step 6: Glue on headstock overlay if needed. Step 7: Perimeter headstock, add logo etc. Step 8: Install truss rod and filler strip. Step 9: Glue on fingerboard. This thread will stop at Step 6 until next week. There is an earlier image of the neck blank back in an earlier thread, but as a reminder: a nice lightweight FLAMED black limba board was chosen for Rich's neck. The flame will match nicely with the flamed back of the body. Flamed black limba passing through the jointer which will plane off small amounts and square-it up. (No one in the shop to hold camera or push the wood, hence the still-life image, sorry). |
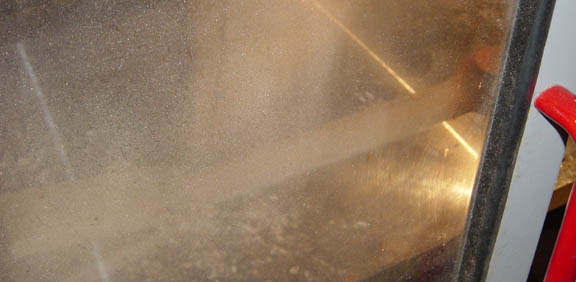 |
Crappy photo through the dust covered safety doors of the Haas. What JUST happened was the back of the neck carve. I have 5 different profiles programmed which get the basic shape fairly close. Final sanding, shaping and blending into the fingerboard is done by hand. |
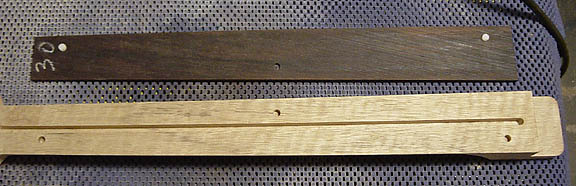 |
Off the CNC,
note the three locating holes on the neck that match up with holes on the underside of the
fingerboard. A small Delrin dowel is inserted into the holes which keep the fingerboard
perfectly located onto the neck while it is glued up. This prevents misalignment or
slipping while clamping. Side note: PRS does something similar, but instead of Delrin (plastic) they use a steel dowel. I found that out the hard way working on a Private Stock inlay. I'm chugging along at 25,000 rpms routing for the inlay then...wham! Air turbine spindle stalls, cutter breaks, chips fly...why didn't anyone mention this to me? |
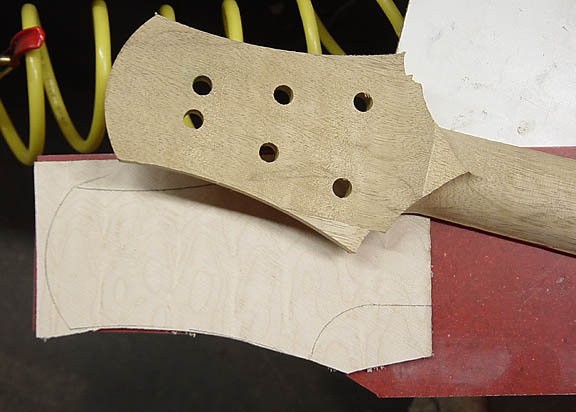 |
#030 gets a
matching quilt maple headstock veneer. I use a remnant portion of the actual 'top' and
thinly slice and sand it down to thickness. I think it's a nice touch using the same piece
of wood for the top and the headstock. Note the headstock shape is oversized and oddly shaped right now. If there was no veneer, the headstock would already be cut to final shape. You can also see the tooling marks left on the back of the neck. This is as good as I can get it with the CNC, the rest is done by hand. |
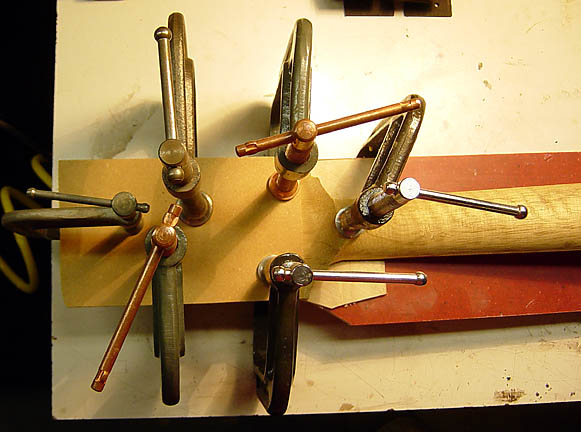 |
This is how I left it this evening, glued and clamped up. Dig that flame on the back of the neck - too cool |
| Go to Step 7 page | Thorn #030 Completed | Go to Step 9 page |