
![]()

|
|
Step 7 - Fingerboard
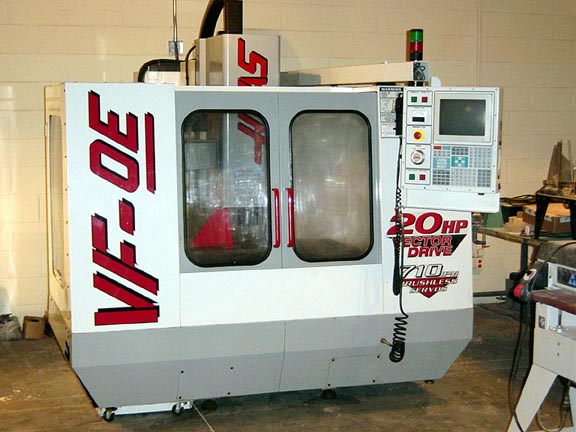 |
As you all
know, there was a new addition to the Thorn family of tools...a baby Haas VF-0E Vertical
Milling Center. This guy will be doing the majority of the grunt mill work that I previously had a smaller/slower CNC do over the past few years. But, with that has come ALL new programming / fixtures / jigs etc. Just like starting over. So without further ado I present the Haas and it's first parts..FINGERBOARDS!!! Ahhh, isn't he cute. He weighs in at 8000lbs, 6oz. Has a 20 tool holder and an adorable 16" x 30" table. 20HP @ 10,000 RPMs for chewing his food, and sleeps through the night...for now. |
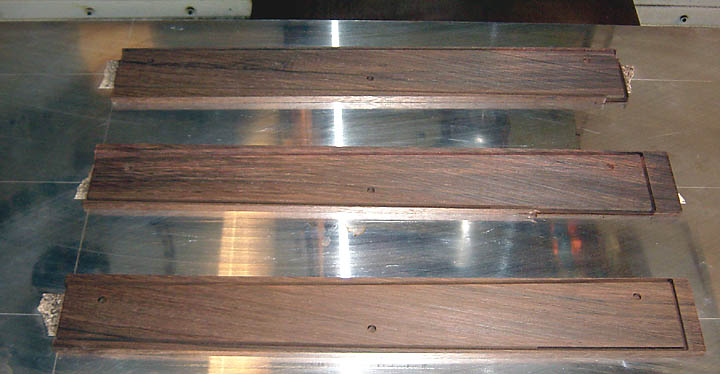
| A stick of Brazilian Rosewood that I just sliced into 3 strips. Each measure 3" wide x 5' long x 3/8" thick. This will yield 9 precious BRW fingerboards. | |
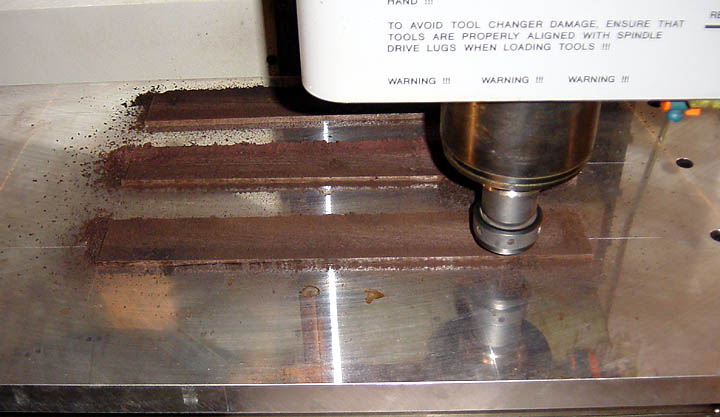 |
The long strips are cut into 19" long boards and held down on the CNC's top tooling plate. The first operation works on the "glue side" of the fingerboard. This side is surfaced flat, then a small endmill machines 3 holes that will eventually line up with three mating holes on the neck. Last step is to mill the perimeter of the fingerboard. I have set up the tooling plate to do 3 fingerboards at a time. |
 |
First Operation completed and the chips are blown off. |
 |
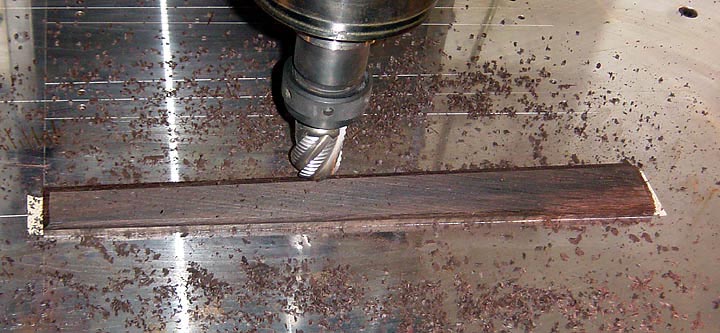
Now the board
is flipped over and located on the plate using those same holes that were machined in the
previous step. You can see the holes drilled into the tooling plate in the other empty
stations in the background. We'll do one board at a time from here on out. This board is the 'ol #030...this one's for you Rich. That menacing tool above is a 1-1/2" ball-end cutter that will create the radius of the fingerboard by making multiple passes back and forth gradually milling away the wood until the radius is deadly accurate. By having multiple radii programmed I can offer practically any radius required, even 11" for Mr. Bunchonumbers |
 |
The cutter in action. I've got to hand it to this cheesy digital camera...that spindle is screaming at 8000rpms, but it looks like it's not rotating in the picture. |
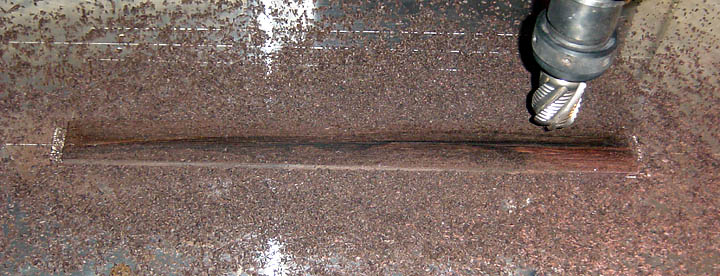 |
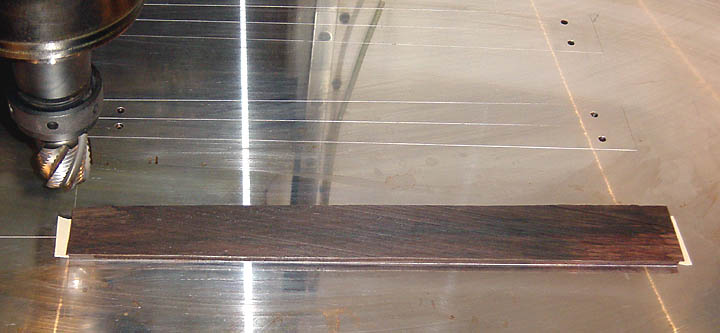
And done. Great looking streaking on that board, eh? |
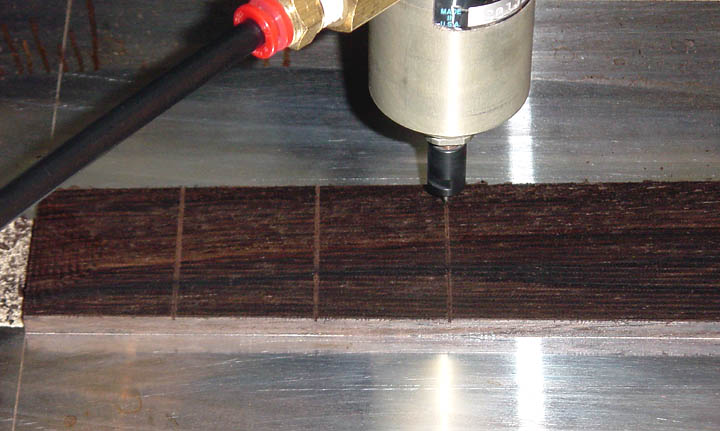 |
Next up is the
fret slotting. This is another example of nothing being better than a CNC for fret slot
accuracy. <<Rant mode ON>> Fret slots have been a pet peeve of mine for years now. I am amazed by some of the fingerboards that we receive for custom inlays. The slot locations are all over the map...and this is on high-end guitars. Why? Because there is no truly accurate method for slotting a board by hand. Every small builder and even small manufacturers local to me each have their own cockamamie method of slotting boards. Some use a radial arm saw, some a modified table saw, others with a hand saw and a mitre box. Most of them depend on a flimsy plexiglass template that a couple guitar shops sell. YIKES! If you want precisely located fret slots that allow the guitar to intonate correctly...CNC all the way. <<Rant Mode OFF>> Another HUGE advantage to using this method is being able to "curve" the fret slot to match the fingerboard radius. This eliminates the large void below each fretwire and keeps the fingerboard a lot stiffer. Much like kerfing on the inside of an acoustic guitar...the deeper the slots in a narrow strip of wood, the more flexible it becomes. |
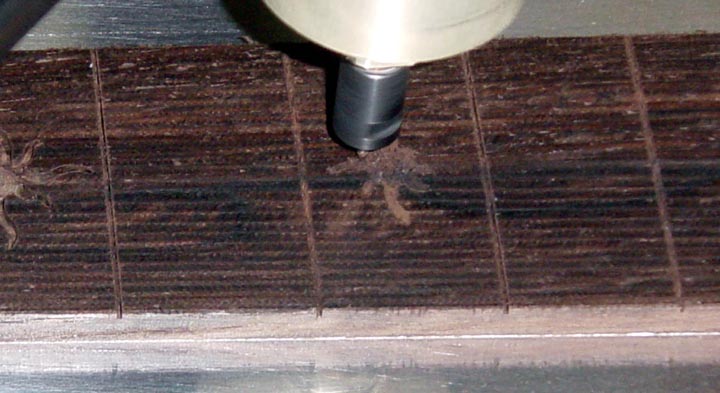 |
Using the same tool, I decided to rout for the inlays at this time too. Once again, location accuracy is spot-on assuring the firesuns will line up right down the center of the neck and will be equally spaced between the fret slots. |
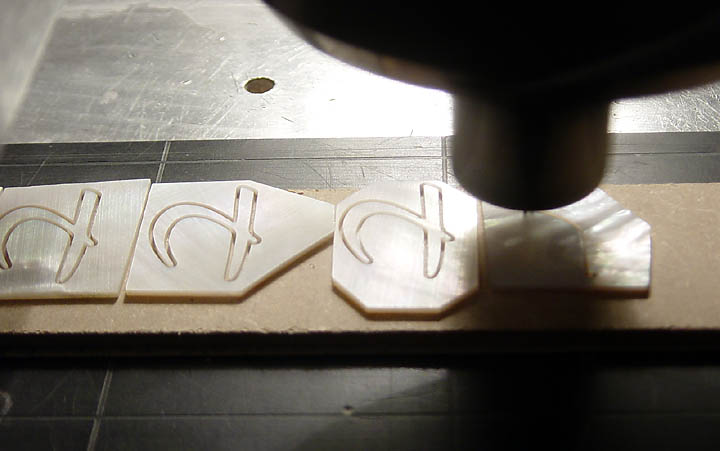 |
Back on the old
CNC the Thorn "T" headstock logos are shown being cut from genuine Mother of
Pearl. The fingerboard is removed and awaits for the neck. That will be soon if all goes as planned this week. Hang in there guys, we're rockin' now |
| Go to Step 6 page | Thorn #030 Completed | Go to Step 8 page |