
![]()

|
|
Step 6 - CNC Body
 |
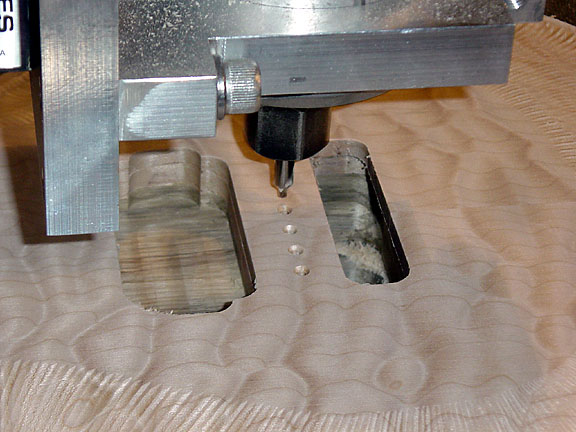
Now the fun
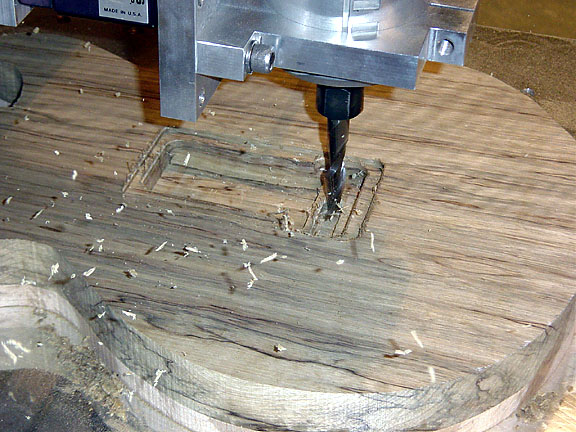
begins and the body starts to take shape. The blank is located on the CNC upside down first and the back chambering is routed. That way when it's flipped over to do the top, the body is still laying on a flat surface. This image shows the trem cavity being hogged out with a 1/2" cutter...complete with actual flying wood chips |
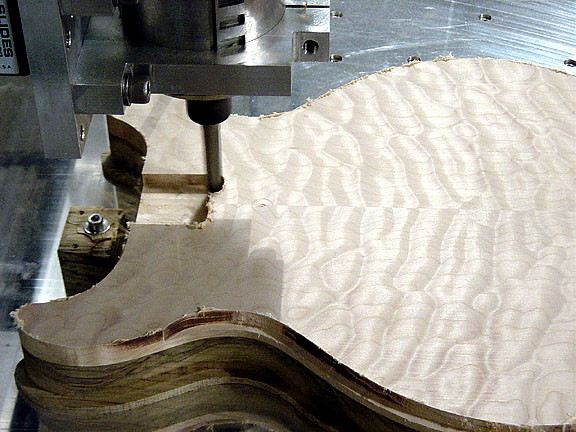 |
Now that the rear cavities are done, the body is flipped over. The perimeter and purfling ledge are the first ops, then onto neck pocket as shown. |
 |
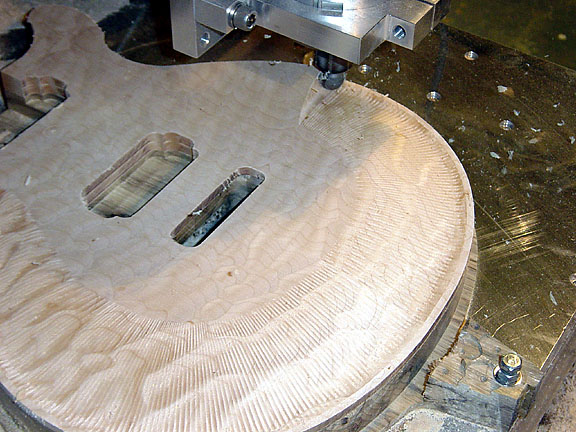
Pickup cavities and trem top opening are next. All with the same cutter so far. Judging be the burrs being left behind, it's time for a new cutter. |
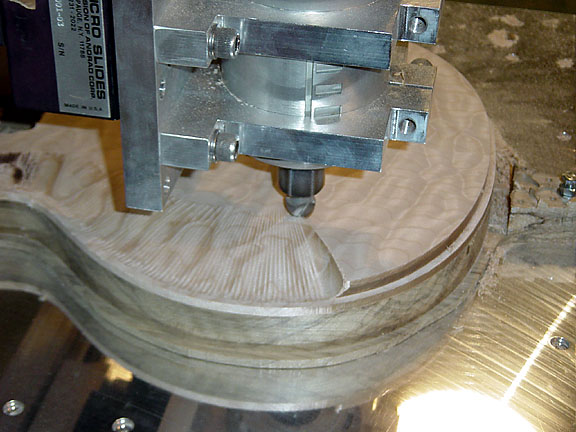 |
Next up is the
longest operation - the carve top. A challenge to program as you can imagine, it took many
a try. I'm blasting through there with a 1" ball end cutter as shown. The more "passes" it takes the smoother the surface which equals less sanding, but it also means longer on the machine - I had to find a happy medium between machine time and hand sanding time. |
 |
Rounding third: |
 |
This is a very
important step - spotting the trem pivot screws. Because the pivot mechanics is similar to
a PRS' the spacing and alignment of these holes is critical. If one hole is slightly off,
that means the pivot screw could bind or pinch the trem unit resulting in poor tuning
stability. With this operation being performed in the same set-up as the neck pocket op - the accuracy is dead on for bridge alignment, intonation, and spacing. Handmade vs CNC - ha, not for this operation. CNC all the way! |
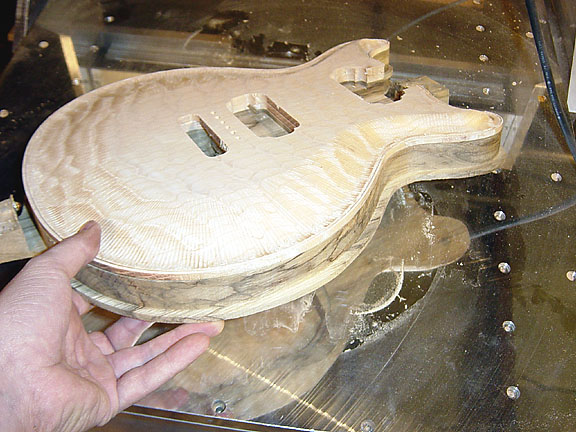 |
Finite: You will notice a lower flange around the bottom, I will explain that in a future post, but for the most part - it's ready for sanding. |
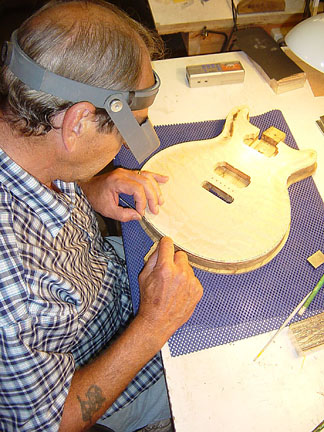 |
Here's my pops
installing the paua purfling. He has become quite an inlay artist in his own right over
the last 6 years since he retired. I'd put him up against the "best" inlay
artists in the world and I know he would hold his own just fine. He has got the touch. It's great working with your dad everyday |
| Go to Step 5 page | Thorn #030 Completed | Go to Step 7 page |