
![]()

|
|
Step 5 - Body Glue-up
 |
We left off
with the top being glued-up in the clamps. Once dried, it is sent throught the drum sander
and cleaned up on both sides and ready for the back. Here the back is shown being sanded to final thickness. Note the internal chambers. I love this little Delta sander for this operation because it has a solid drum and lower platen. This makes for a true flat surface compared to some larger machines that have rubber drums and a soft lower belt that roll the edges while sanding. |
 |
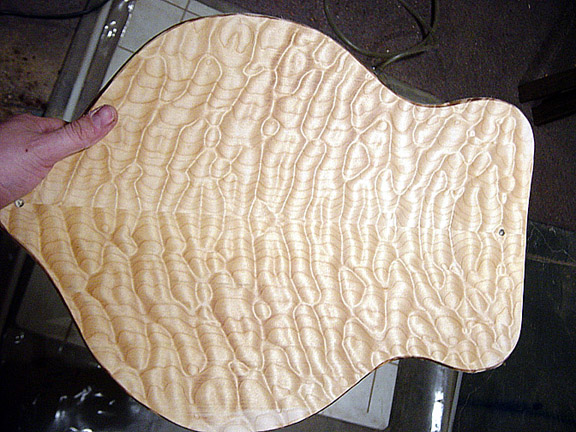
The top and the
back are dry fit together , bandsawn oversized and prepped for glue-up. I'm not sure if I have noted this, but two holes are drilled with a template at each end of the guitar along the centerline. These holes serve multiple purposes. They are used to locate and pin the two halves together at this point. Once an even coat of glue is spread over both sides, the pins are insert and the top is lined up and placed on top of the body. Into the vacuum bag they go. This is basically a giant zip-lok hooked up to a vacuum pump that evacuates the air from the bag and pulls the top down onto the back with tremenous force. |
 |
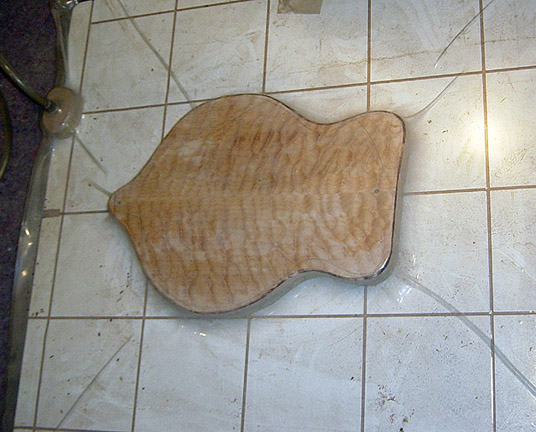
After a 4 hour stay in the bag - out she comes and sent through the sander a few more times for final thicknessing to 1-7/8". You gotta dig that top |
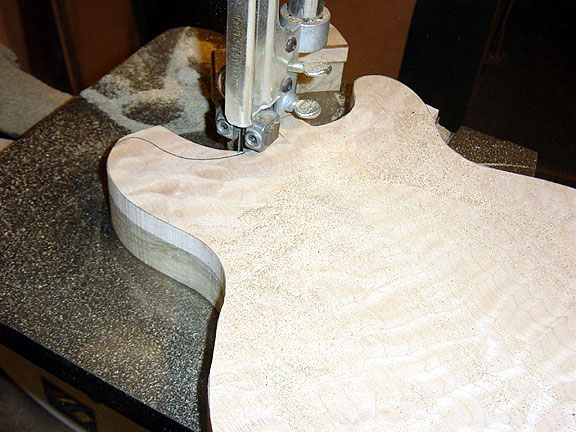 |
The final step of body blank prep is to bandsaw it out 1/4" over size for the CNC. |
| Go to Step 4 page | Thorn #030 Completed | Go to Step 6 page |