
![]()

|
|
Step 4 - Top Prep
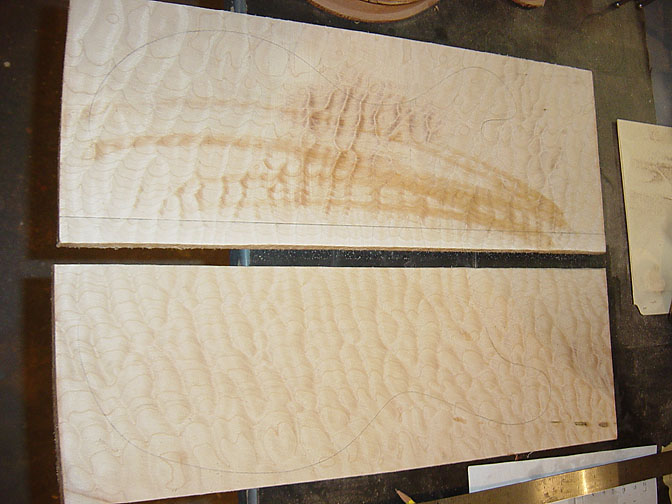 |
Now that the
limba back is ready to go, we move onto the top. The billet of quilt maple arrives having dimensions of 8/4 (just over 1.75") x 7" x 20"+, and a moisture content right around 9%. Next comes the resawing, or bookmatching. The billet is sent through the resaw bandsaw that has a 3" wide blade. No picture of this step, sorry guys. It happened a while ago when Rich (and the help of everyone here - thanks) was determining which top was to be his. There is other pictures on this site of the same operation performed on other tops. I cut it right in half producing two sides with a thickness of about 7/8" Once bookmatched I allow the tops to relax for at least a couple weeks. Since wood, especially figured, is stressed it needs a little stress-relief time alone. During this time the two sides "move". That can mean twist, cup, bow etc. Better now than later. In the mean time, a little naphtha is wiped onto the two inner faces and a template is laid over the spread to determine which is the best way to orientate the top. There is basically four ways the top can be laid out. The spine of the "book" can be either of the two sides, and the template can be flipped around end to end. This gives the four possibilities. Side note: Last year or two, Leon came over to select the top for his #009. I had already glued-up a bookmatched top and had the body shape traced onto it's surface the way I thought it would look best. Leon took one look at it and suggested flipping the top around, 180° from my layout. The result was the figuring following the path of the two horns of the body perfectly. I'm glad he caught that, it is just one more thing that makes that guitar extra hip. Okay, the two sides have gone through the relax stages and need to be cleaned-up a bit. A few passes through the thickness sander gets the sides reasonably flat. This picture shows the two sides in the works. Notice the one on the top has a center line drawn along one edge. That strip of wood will be cut off. The one on the bottom already has the strip trimmed off. The reason was a little bit of discoloration along that edge that I didn't want to be right down the center of the guitar. |
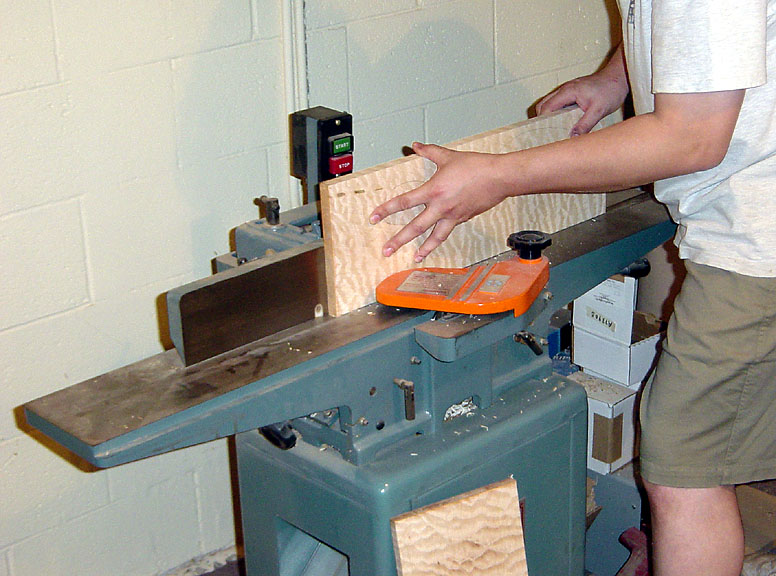 |
Next comes
jointing the glue surface sides. This is the side of each board that becomes the center
seam. Having a perfectly flat and square cut is very important. Otherwise a glue-line or
seam will be visible and less attractive. This picture shows me running the edge of each board over the jointer's blades. Each pass barely removes .010" of material, allowing for precise cuts with no tear-out. |
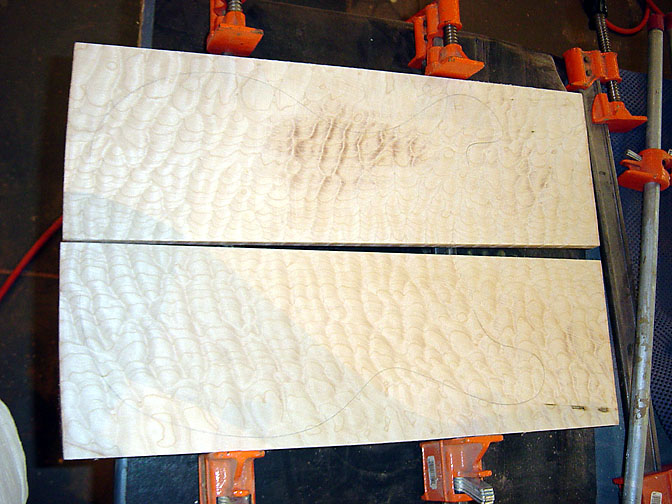 |
Now that the two edges are flat and square to the top surface it is time for glue-up. |
 |
Just like the body spread, a thin even coating of titebond is applied to the two sides and placed in the clamps for drying. |
| Go to Step 3 page | Thorn #030 Completed | Go to Step 5 page |