
![]()

|
|
Step 1 - Milling
| Howdy folks. Step one focuses on the first few milling operations of the body. Rich & I have chosen a super lightweight board of black limba for the body's back. It is very resonant and has a great loud tap tone. Also, it has a fair amount of curl or figure to the board. This figure will create a subtle chevron flame on the back. Just one more extra bit of coolness Here we go...the board: It is 2" thick, 7.5" wide and 46" long. This will become the 2-piece back. |
|
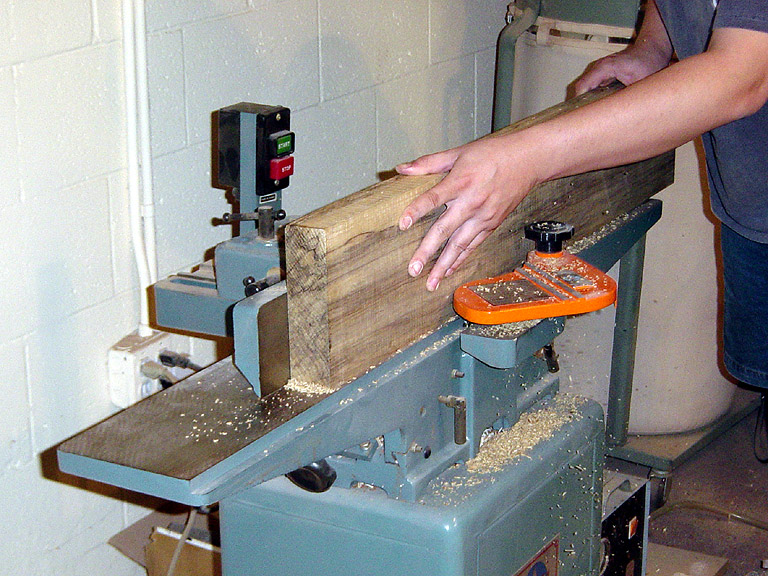 |
Squaring the
sides. The board's edge is ran through a jointer. Each pass removes a small amount of
material, 1/32" or so, until the side is perfectly flat and square to the face. This step will be repeated prior to the body glue-up to ensure squareness and flatness. |
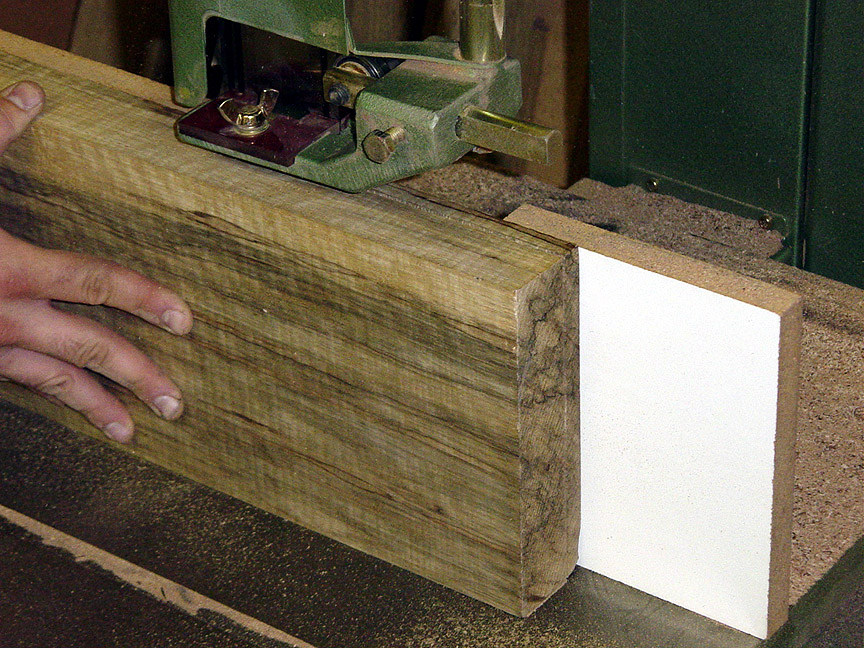 |
Running the board through the resaw. Since the board is 2" thick and the final dimension will only be 1.25", instead of turning that extra 3/4" into sawdust it's ran through a large resaw/bandsaw and cut off. This piece of cutoff will later be used for the back plates resulting in a perfect grain match with the rest of the back. |
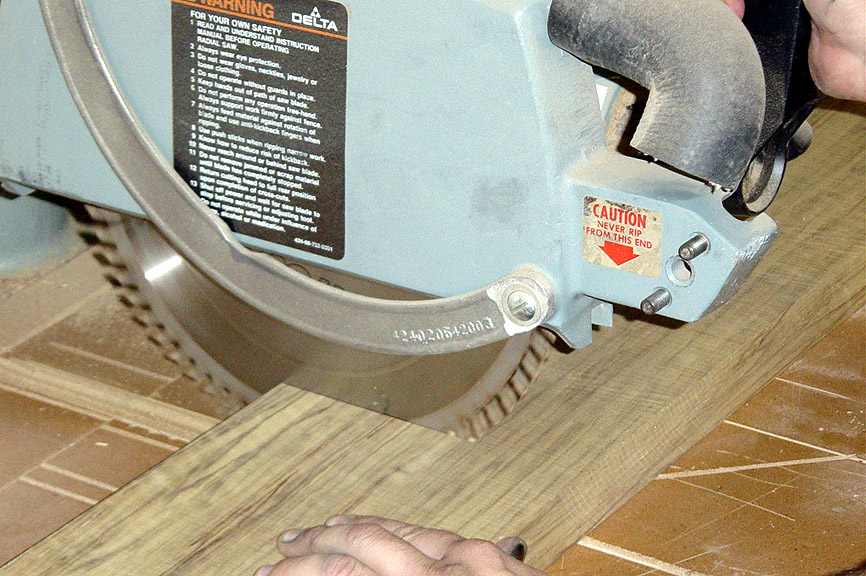 |
And finally the board is cut in half on a radial arm saw. This method is called slipmatched, where one end of the board is swung around and glued to the side of the other half. Color and grain is matched and the center seam is practically unnoticeable. |
|
Go to Step 2 page |